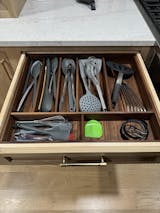
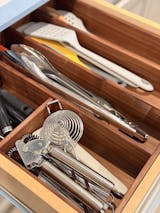
If you're considering custom drawer organizers, taking accurate measurements is the essential first step. While measuring might seem straightforward, getting precise numbers ensures your custom organizer fits perfectly without gaps or wasted space. At Old Saguaro Woodcraft, we've simplified this process with clear, easy-to-follow instructions. Here's our detailed step-by-step guide to measuring your kitchen drawers accurately.
A Quick Note on Tape Measures
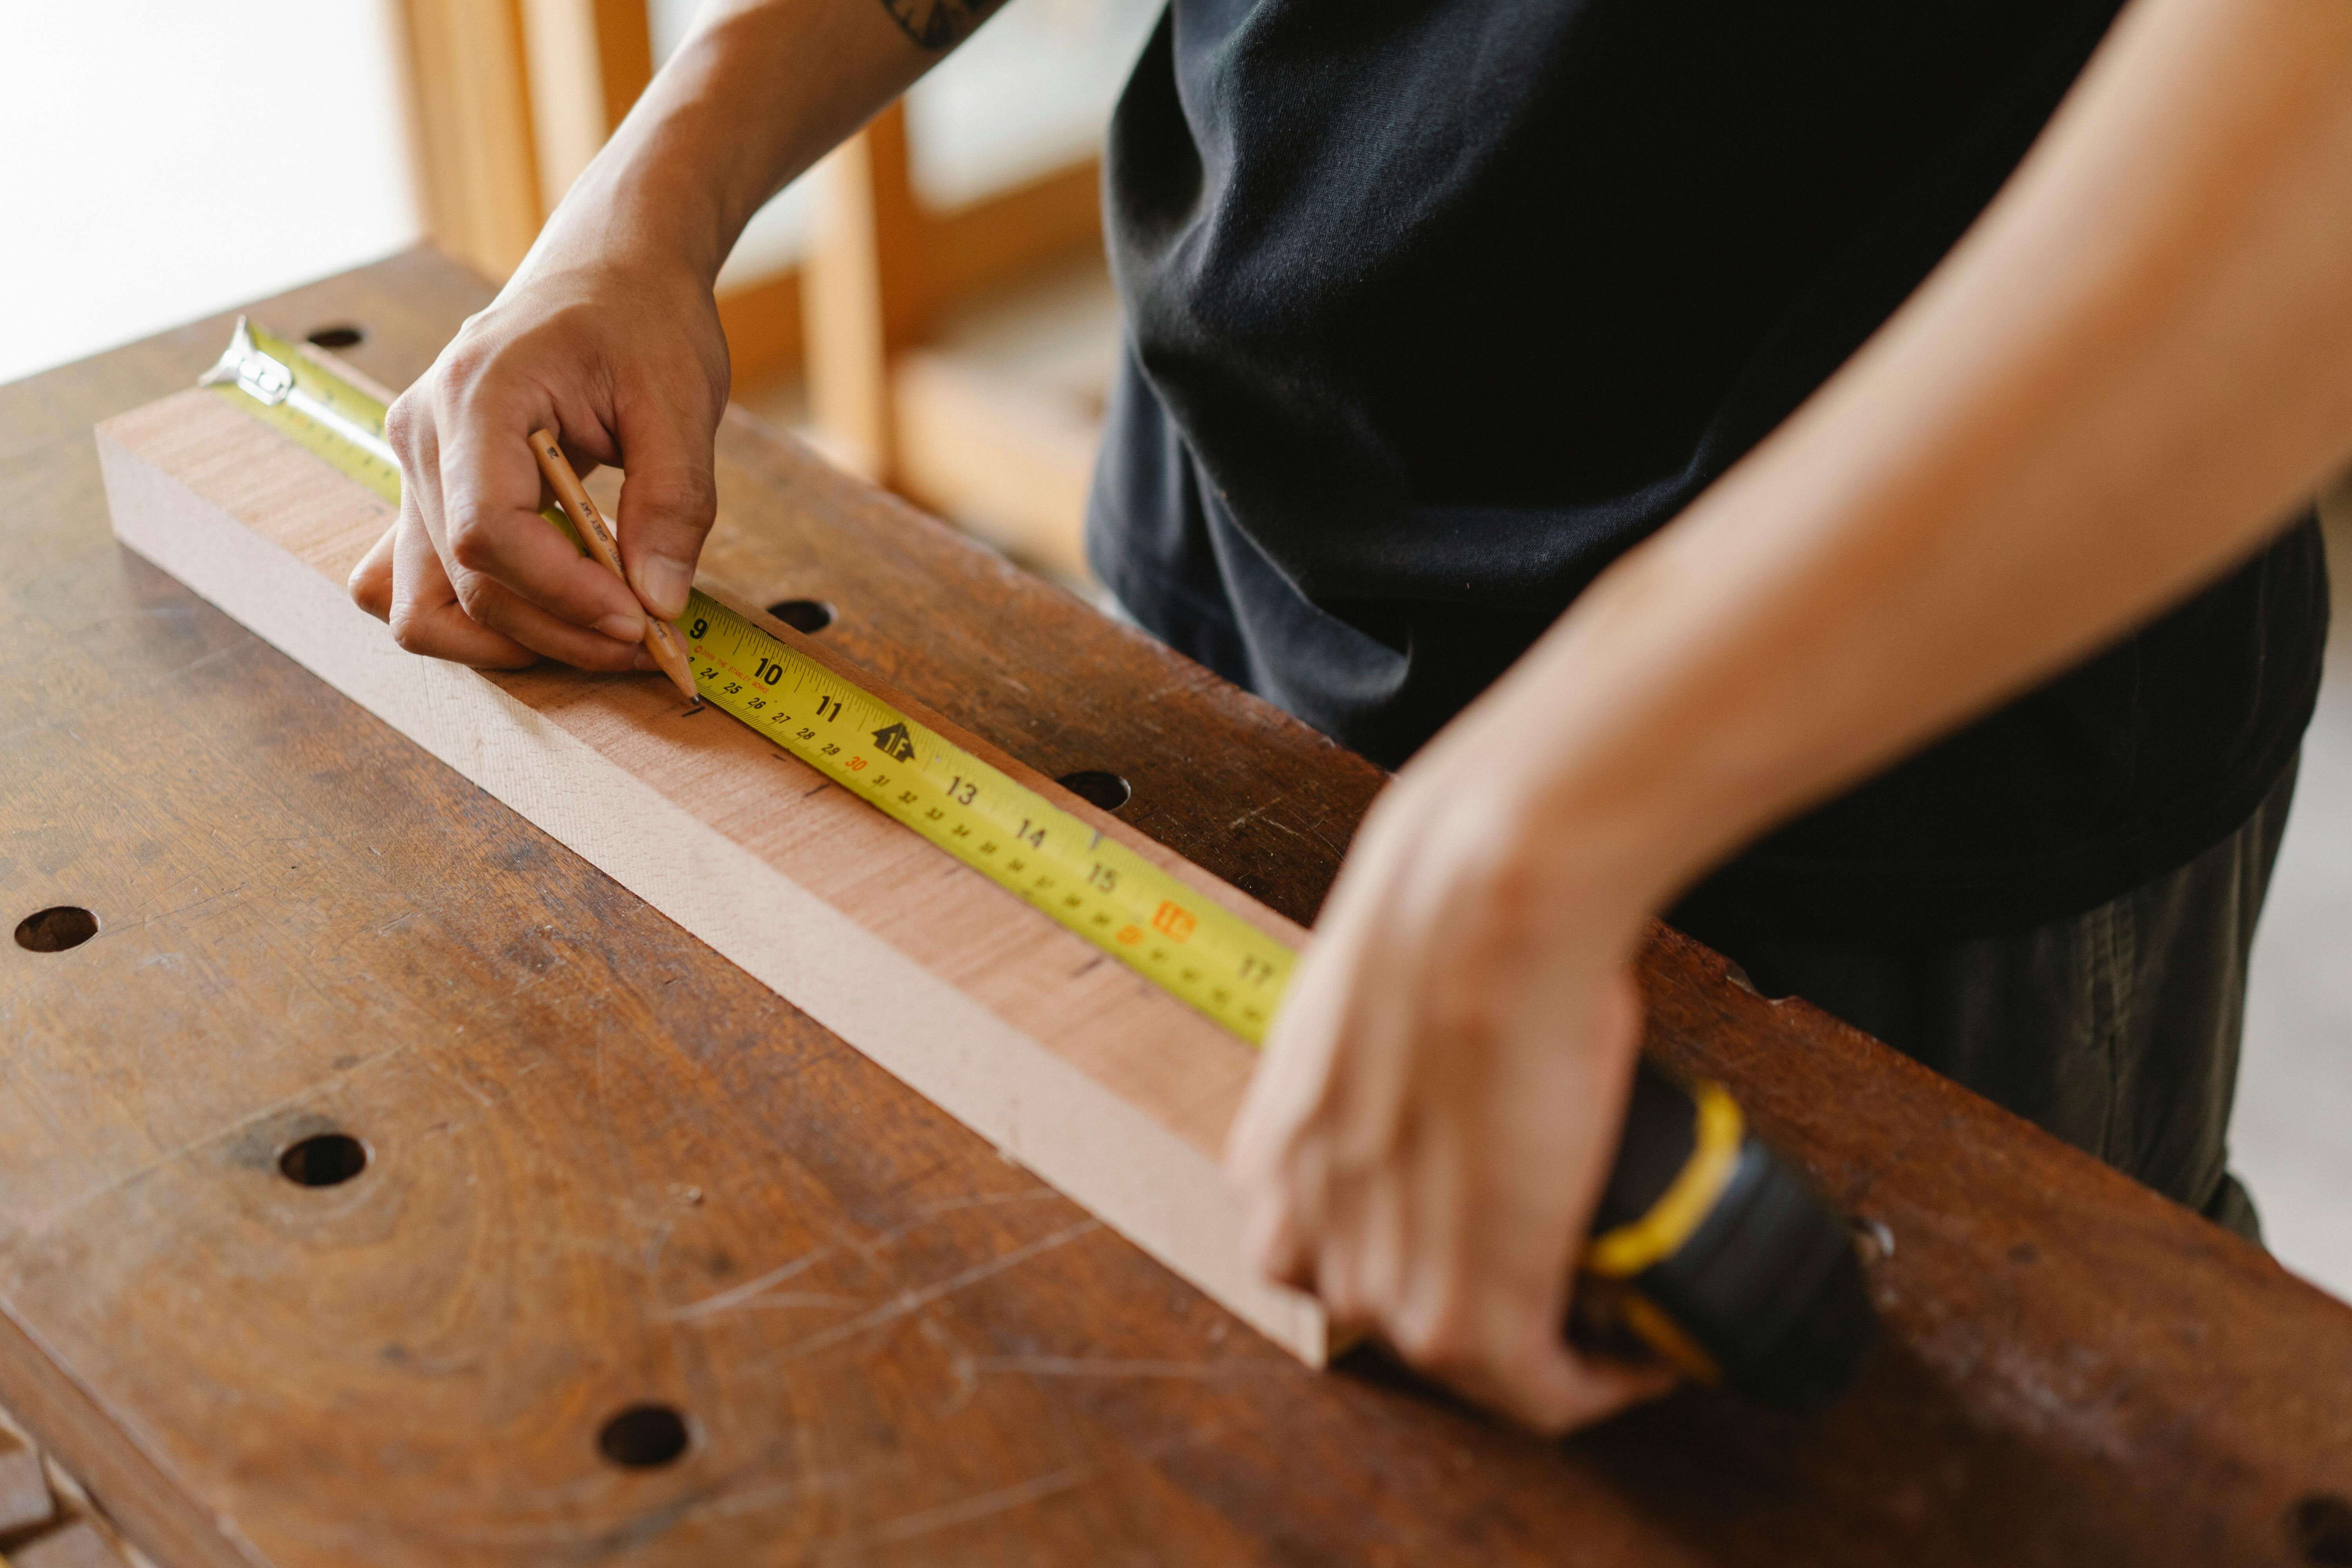
Ever notice the small "wiggle" or slop at the metal end of your tape measure? That small movement isn't a defect—it's intentionally designed to account for the thickness of the metal hook when measuring both inside and outside dimensions. When measuring inside dimensions, like drawer interiors, press the hook firmly against one side, and pull the tape straight across to the other side without letting it sag or bend. This ensures the most accurate measurement.
Step 1: Empty Your Drawer
Before measuring, we recommend you empty your drawer or at the very least remove any items protruding out or that will be in the way of your tape measure. A completely empty drawer allows for accurate, unobstructed measurements.
Step 2: Measure the Width
To measure the drawer width accurately, position your tape measure at the top interior edges of the drawer sides. Note: do not lay the tape flat on the drawer bottom—this can lead to bending and inaccurate readings. Press the hook firmly against the interior face of one side, and pull the tape across the other face. Record your measurement to the nearest 1/16th of an inch, always rounding down if the measurement falls between marks.
See example below, measurement should be recorded as 7 9/16th’s.
Step 3: Measure the Depth
For drawer depth, measure from the inside front of the drawer box straight back to the inside rear wall. Keep your tape measure flat and straight to ensure accuracy. Again, note this measurement precisely to the nearest 1/16th of an inch, always rounding down if you're between marks.
*You may want to consider pulling your drawer box out of the cabinet. This is usually a quick action, though the mechanics of removing the drawer box from your drawer slides can vary home to home. Knowing how to remove your drawer box may be helpful when it comes time to install your new organizer.
*For drawer depth, press the hook of the tape measure firmly against the interior back face of your drawer box, and pull the tape on a level plane to the interior front face of the box.
Step 4: Measure the Height
Measure the height from the bottom interior surface of your drawer to the top edge of the drawer sides. Ensure your tape measure is vertical and straight to get a precise reading. This measurement confirms that your organizer will fit comfortably inside your drawer without protruding above the drawer edges or sitting too low.
Step 5: Double Check Your Numbers
Always measure each dimension at least twice. Accurate measurements reduce errors and ensure your organizer fits perfectly, enhancing your kitchen's organization and functionality.
Step 6: Share Your Measurements with Us
Once you have your precise measurements, simply provide them when ordering. We use these exact dimensions to craft a custom drawer organizer tailored specifically to your kitchen's needs.
Accurate measurements are critical. If the dimensions provided are off, even slightly, your custom organizer may not fit as intended—and since each organizer is handcrafted based on your exact specifications, any measurement errors will result in an organizer that doesn’t fit, which unfortunately will be your responsibility. So take your time, measure carefully, and feel free to reach out if you have any questions along the way, we are here to help.
Ready to get started with your custom drawer organizers? Reach out today, and let's create something just right for your home.




Share:
Kitchenware Maintenance 101: Oils, Polishes, and More
Caring for Your Wooden Utensils: Maintenance Tips for Longevity